Usage instructions for Gmail
This guide shows you how to set up a Gmail or Google Apps account with the Whiteout email application
After you have installed Whitout application from the Chrome Web Store you can access the app from the applications page (chrome://apps).
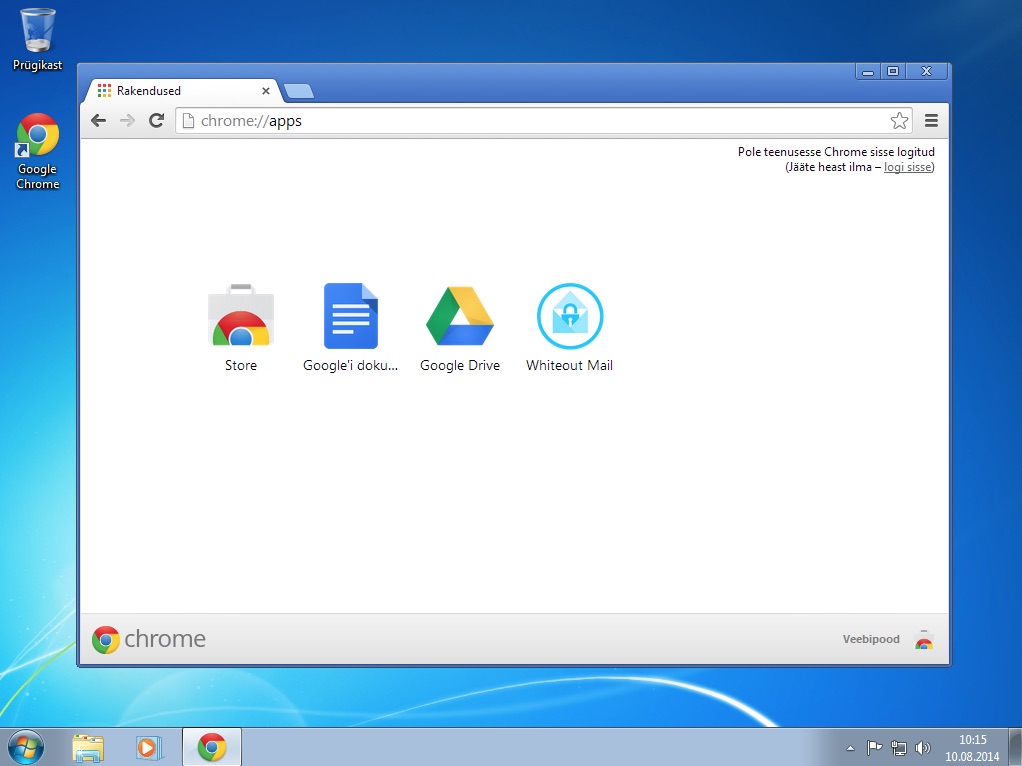
Make sure that you have logged in and if not click the login link in the right top corner of the page. After successful login the link should be replaced with your account email address. If you have logged in click on the Whiteout application icon to run it.

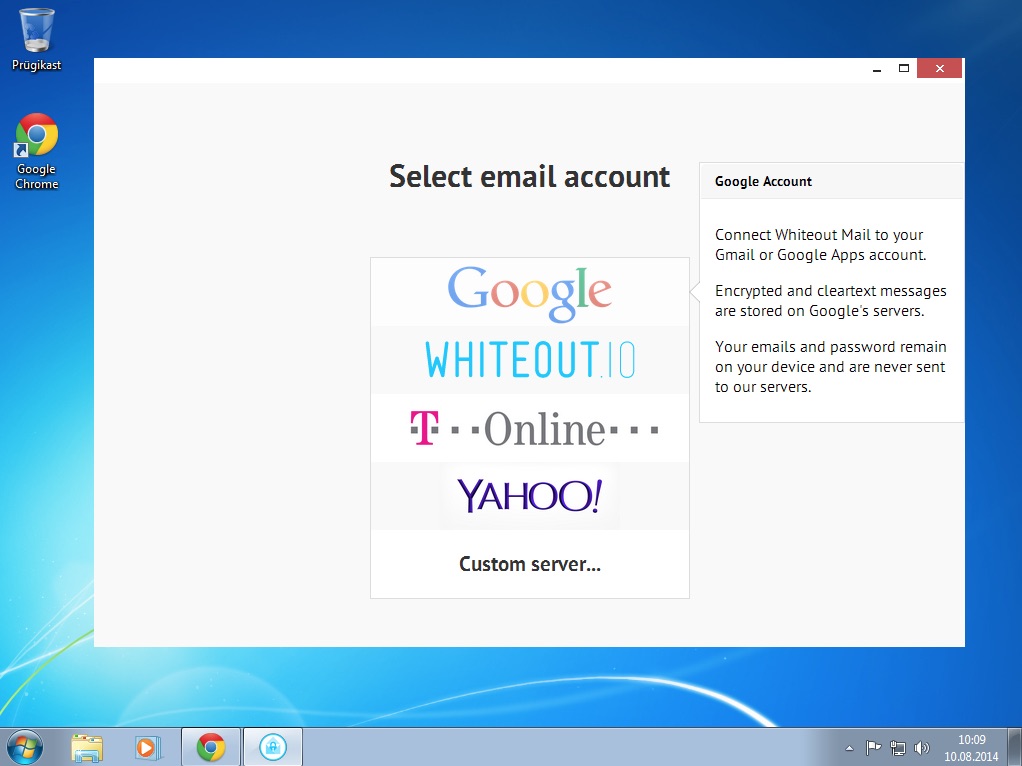
Whiteout application comes with bundled support for major email providers. For Gmail you do not even have to provide your password, the authentication is automatically handled by Chrome which provides the Whiteout app with a login token to access your mailbox.
To use a Gmail or Google Apps account (using the same account you are currently logged in to Chrome), click on the Google logo.
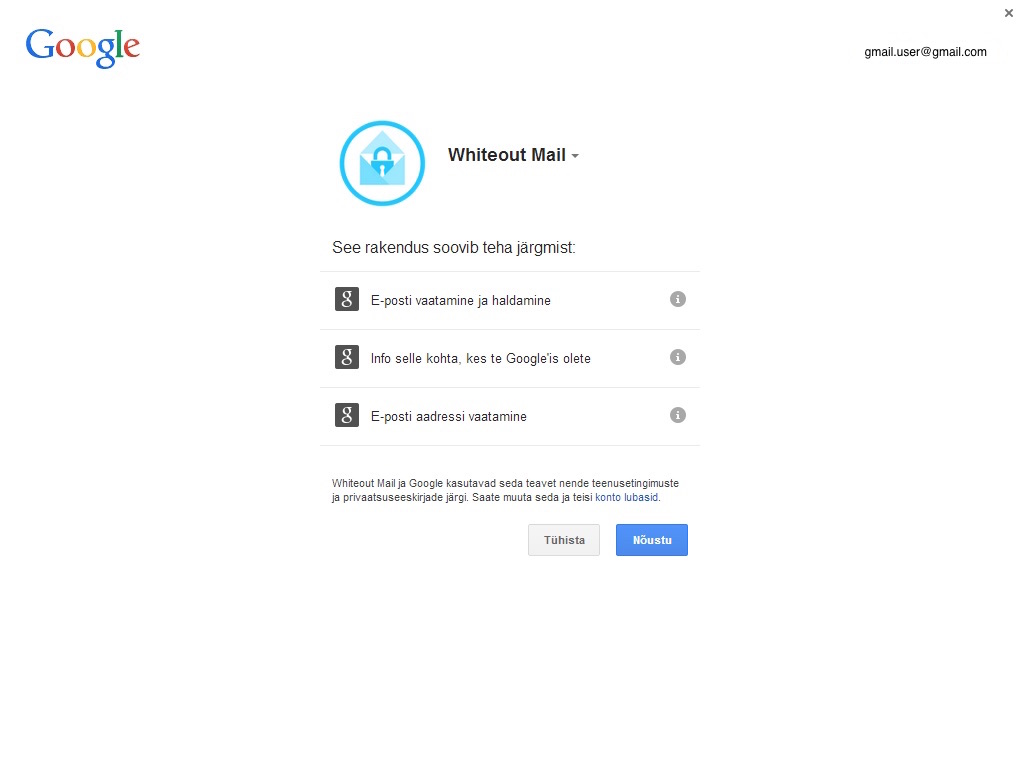
When using a Gmail account Chrome generates an authentication token for the Whiteout app that can be used instead of your actual password. The token allows the app to do a certain things which you need to grant permission for. Whiteout app needs permissions to access your mailbox but not for example to your Google Drive files, so these permissions are not asked. The permissions page uses your account language, so the screenshot is in the Estonian but you are going to see the page in your language. If you are confortable with the required permissions click on the "Accept" button.
In the next screen you are asked for your email address and full name. Do not modify the email address field, this has been automatically set by your Chrome account. Your name is used as the sender name when sending out emails. You do not have to set this but in this case the recipients are going to see only your email address as the sender and not your name (unless your address is in their address book).

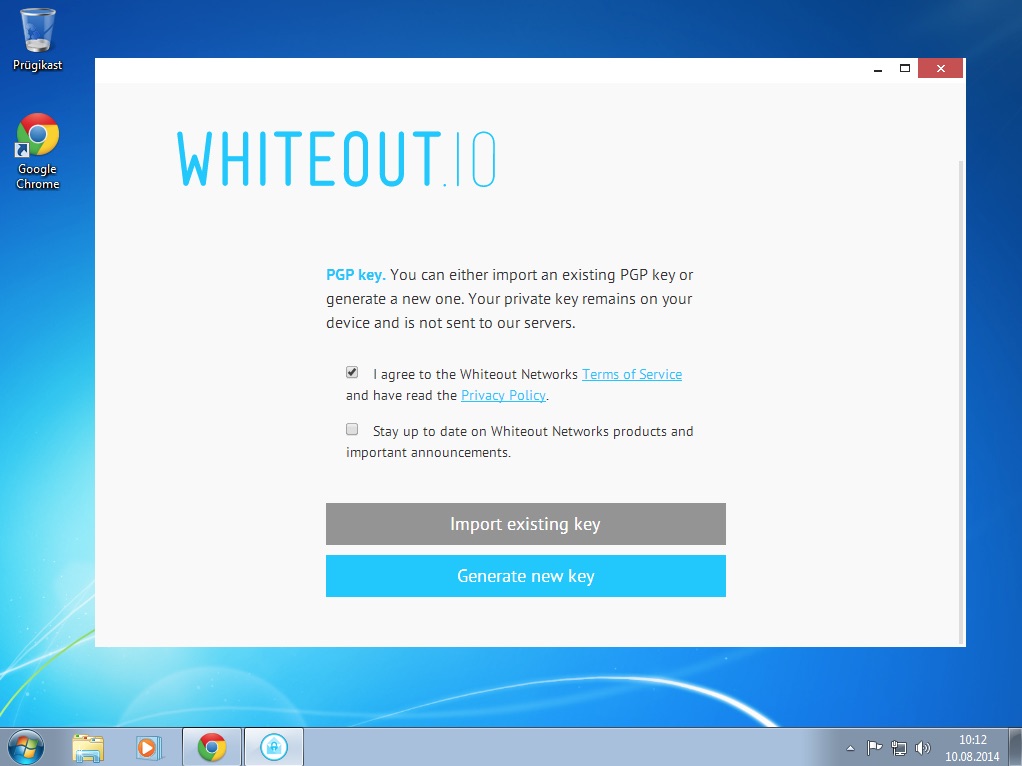
To be able to decrypt messages sent to you and to sign your outgoing messages, Whiteout app needs a key pair (public key + private key) for your email address. If you have never dealt with PGP before then you probably do not have a key pair for your email address. In this case click on the "Generate new key" button and everything is handled automatically by the app.
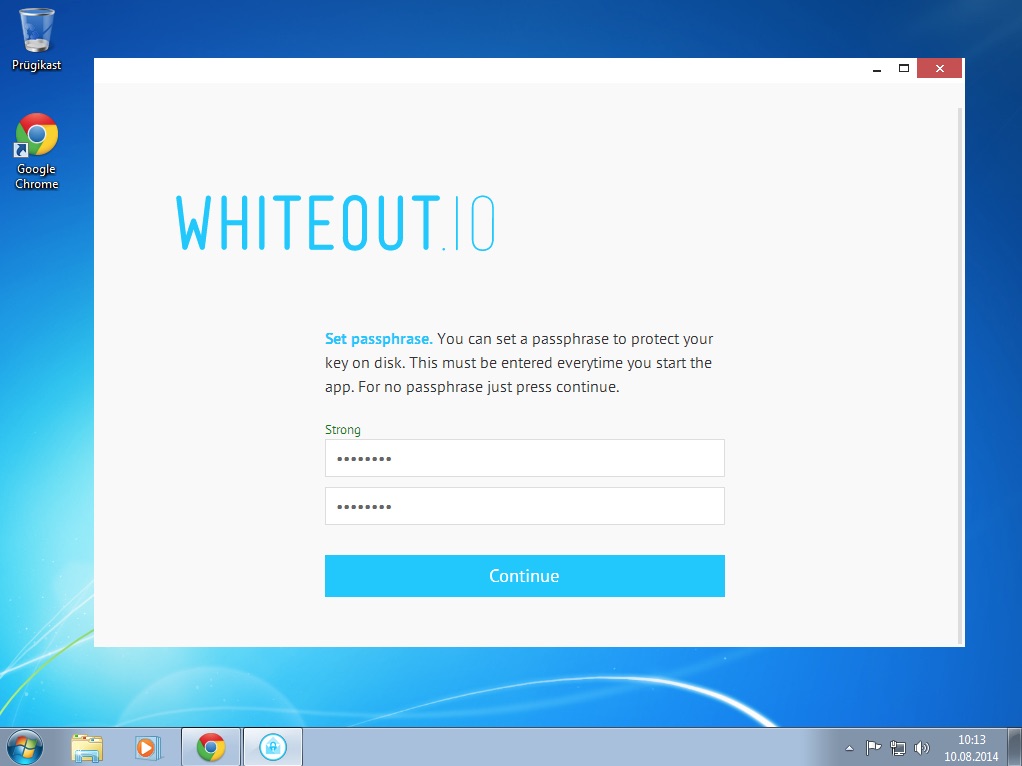
Your new private key needs a password, enter it on this screen. This password is asked every time you start the application and it is used to unlock the key (locked private key can not decrypt any messages). Public key is always unlocked and visible to everybody.
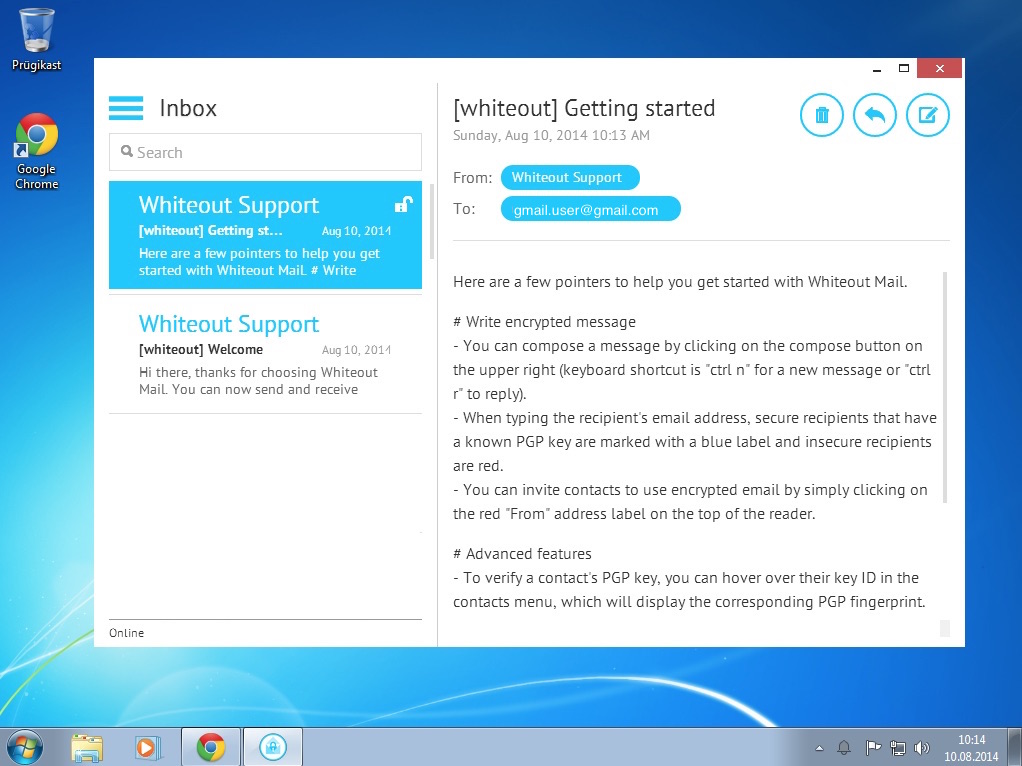
You are all set up. If your mailbox is very large it may take some time until you can see your emails but for a small mailbox the emails can be accessed almost immediatelly. The "Getting started" email from Whiteout is encrypted using your new public key and no one else but you can read it as no one else but you have the matching private key to decrypt it.