Submitting Examples: Pushing the Example
Once you have cloned your forked repository from GitHub you can start adding new examples or editing existing examples. For instance, let's assume you want to add a new example to the repository called Custom Transport to the rticonnextdds-examples repository, which we are only going to implement in C.
First, you will need to create a new directory for the example.
cd /path/to/rticonnextdds-examples/examples
mkdir custom_transport
Now, create a README.md file that describing the example and the concept it
illustrates following the guidelines mentioned above.
Create a directory for each language in which the example is implemented—in this case just C. Remember we use lowercase for directory names.
mkdir cNow, change to the c directory and add the C files of your example includes.
Add also the README.md file describing how to build and run the C example
(see the guidelines mentioned in the
"Coding Your Example" section in this document).
This is what your example directory structure should look like:
/path/to/rticonnextdds-examples/examples/custom_transport/
├── README.md
└── c/
    ├── README.md
    ├── custom_transport.c
    └── custom_transport.h
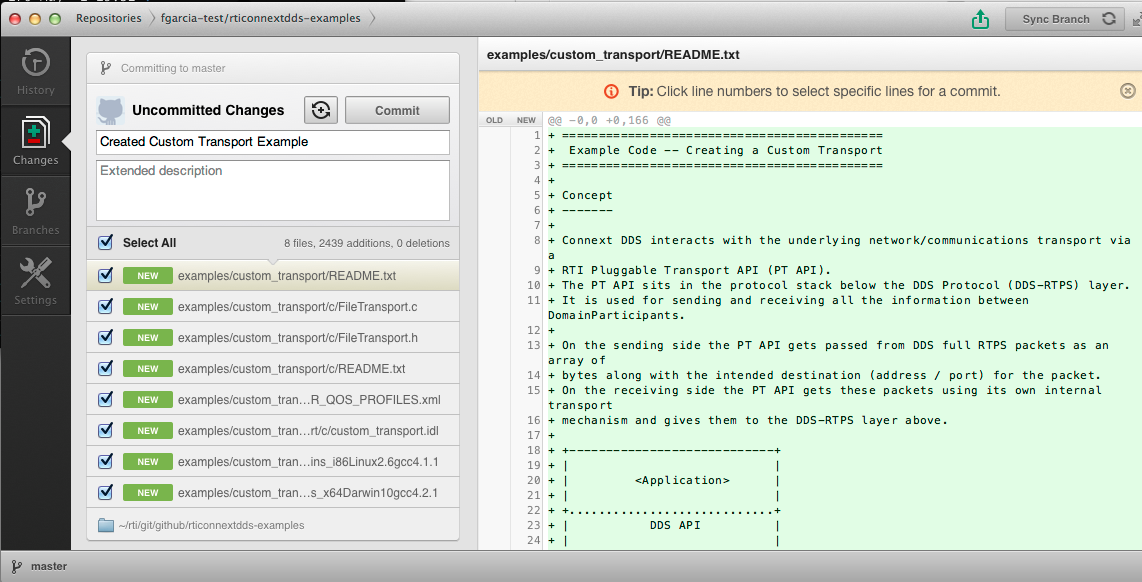
Open your GitHub application and click on the repository you are modifying—in this case rticonnextdds-examples. Once in the repository view, if you click on Changes, you will see all the repositories that have neither been committed to your local repository nor synchronized with the remote forked repository.
Select the files you may have added or modified you want to commit to your local repository. Add a comment describing your changes and click on Commit. Do not click on Sync as well, as that will synchronize the changes with the remote forked repository. We will do that later.
Change to the directory where you added the example within the local repository. Run the the git "status" command to see the list of files you have added or modified and are either untracked by the local repository or different to the current version in the repository.
git statusNow, using the git "add" command, let the Git repository now the files you have added or modified you want commit. Note that even modified files must be added using this command—git add is basically used to specify the files that need staged for the next commit. Git "add" works both with files and directories. When adding directory, everything under the directory specified will be recursively added. For instance:
git add custom_transport # Adds everything under the custom_transport directory

git add README.md c # Adds both the README.md file and everything under the c directory.
At this point, the changes you have added are staged for the next commit. You can go ahead and run git commit. Use the -m parameter to describe the changes you have made.
git commit -m "Added custom_transport example"Git is a distributed revision control system. It takes a peer-to-peer approach to version control. When you commit your changes—as you would do in a centralized revision control system like CVS—you do not commit your changes to any central repository—you commit them locally to the repository you cloned in your computer. This means you can keep track of all the changes you make, with all the advantages of the use of revision control systems, without compromising the integrity of the GitHub repository from which we ship our examples.
In Git you can configure remote repositories, so you can synchronize your changes with different repositories. To push your changes to a remote repository use the git “push” command:
git push <repository_name>Likewise, to pull changes from a remote repository use the git “pull” command:
git pull <repository_name>You can list the remote repositories in your repository using
git remoteBy default, when you clone a Git repository from a bare repository—like you do when you clone a repository that is in GitHub—the cloned repository automatically includes the bare repository in the list of remote repositories and it calls it origin. If you do not specify the repository you want to push or pull your changes from in the command, Git will assume you want to synchronize with the origin repository.
Note that when you clone a repository previously forked from rticommunity/rticonnextdds-examples, you will be able to synchronize only with the the forked repository (i.e., the repository in your GitHub account). To synchronize your changes with our official (rticommunity) repository you will have to use a different mechanism called Pull Request.
You may add the rticommunity/rticonnextdds-examples repository you forked from to the list of remote repositories. This would work to pull changes from the original repository. However to be able to push to the original repository, you will need to be in its contributors list. Pull Request easies the merging process, as you will see later in the document.
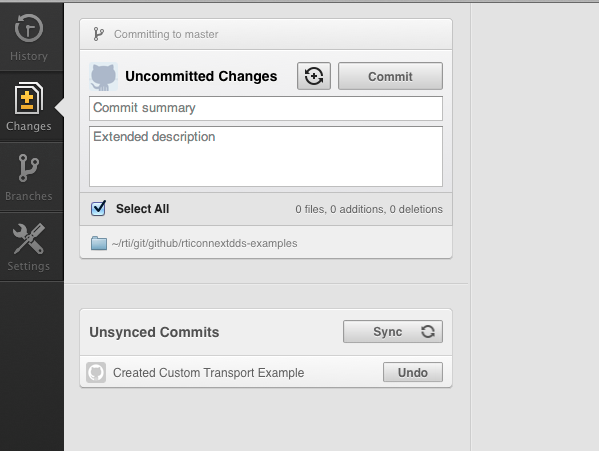
Once you have done a commit on the files you wanted to add to your local repository. You will see a box with the list of Unsynced Commits. There you can choose either to undo your commits or to synchronize your changes with the remote forked repository.
Click on the "Sync" button and if there are no conflicts you should be able to see the changes pushed in the forked repository in your user's web page on Github.
Once you have done a commit on the files you wanted to add to your local repository you may push your changes to theS forked repository. Most probably, you are the only user pushing to your fork of the repository, but it is always good to check if there are changes in the remote repository before pushing. Use the Git "pull" command for that.
git pullNow that you have checked there are no conflicts with the code you are going to push and the remote forked repository, you can push the changes you did in your local commit using the Git "push" command.
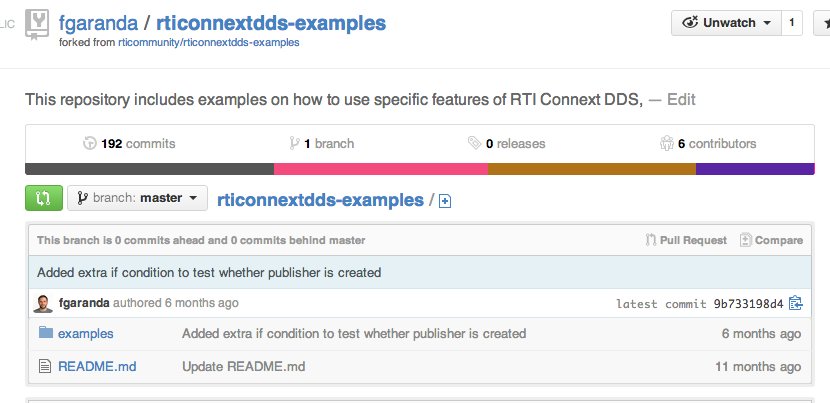
git pushYou should be now able to see the changes pushed in the forked repository in your user's web page on GitHub, in our example fgaranda/rticonnextdds-examples.
To synchronize your changes with the RTI Community Example Repository in GitHub you will have to use a mechanism called Pull Request. That is, requesting the repository collaborators to review the changes you made in your forked repository and merge them onto the original repository.
In order to accept your pull request, we need you to sign a Contributor License Agreement (CLA). Complete your CLA here. You only need to do this once, we cross-check your Github username with the list of contributors who have signed the CLA.
To submit a Pull Request, go to your fork's webpage on Github and click on the "Pull Request" button.
Once we have reviewed your pull request, we will add your new example to the
examples section in the RTI Community Portal. We will
base the example description on the README.md file you added.