HOWTO: Save and Load the pointcloud
Here we will explain how to save and load your captured pointcloud.
Ok, you just captured the pointcloud and want to save it. The pointclouds uses PCD binary (part of PCL - point cloud library tools) format. It is suitable to interact with different software and easily convert the formats. H3DS uses compression for PCD files by default, which you can disable in Settings.
- Open the list of the captured pointclouds:
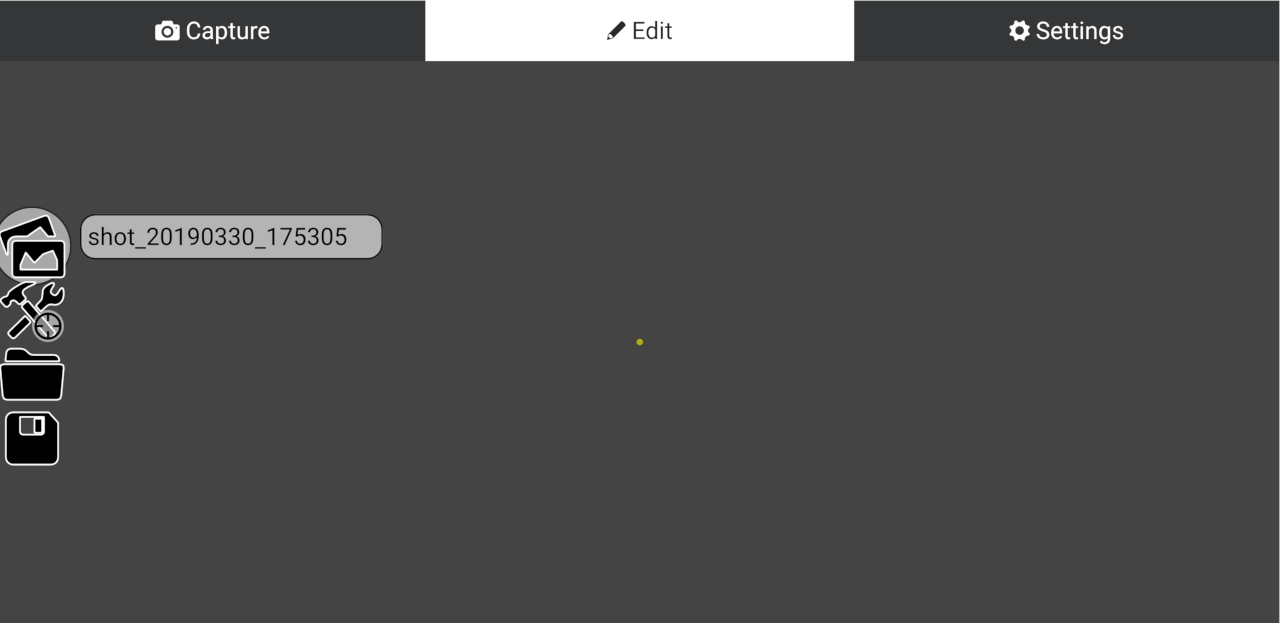
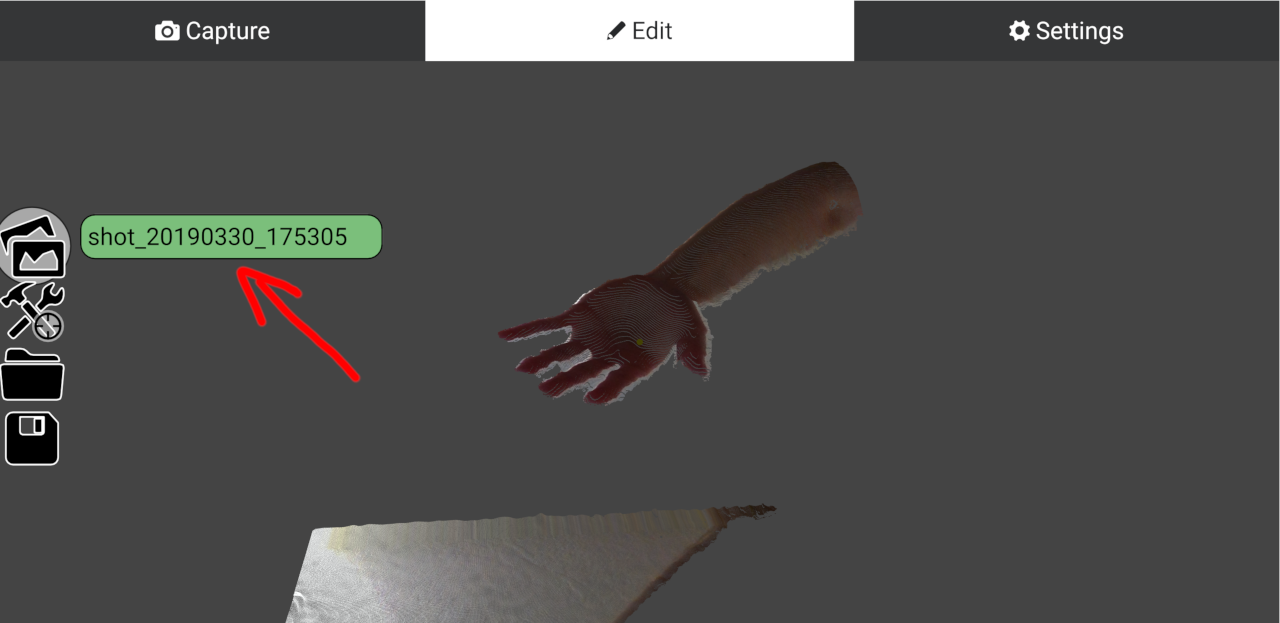
- Select the pointclouds you want to save (only the selected pointclouds will be saved):
- Tap on the "floppy disc" icon to start the saving process:
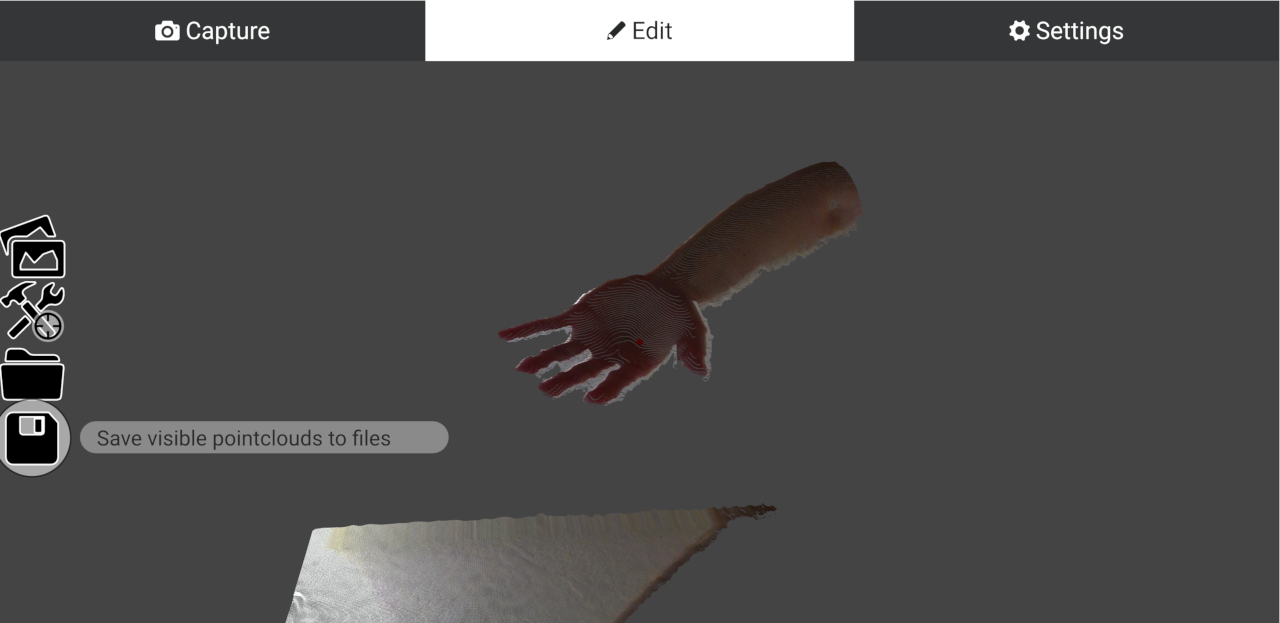
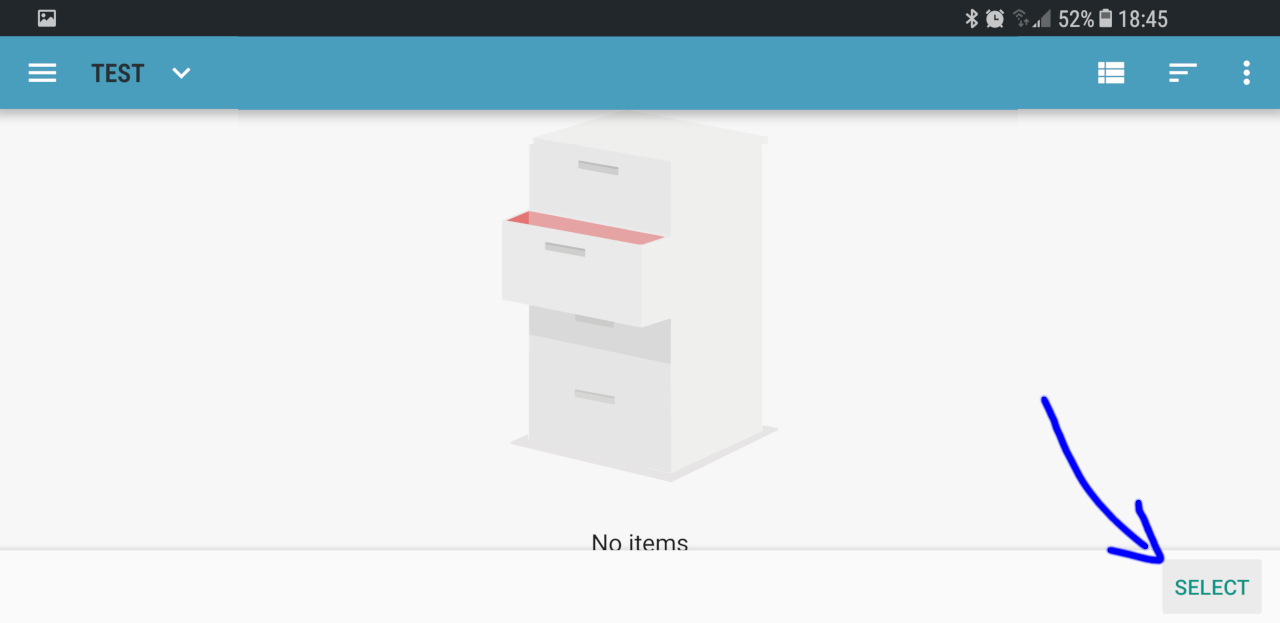
- Now the system ask you about where to save your visible pointclouds:
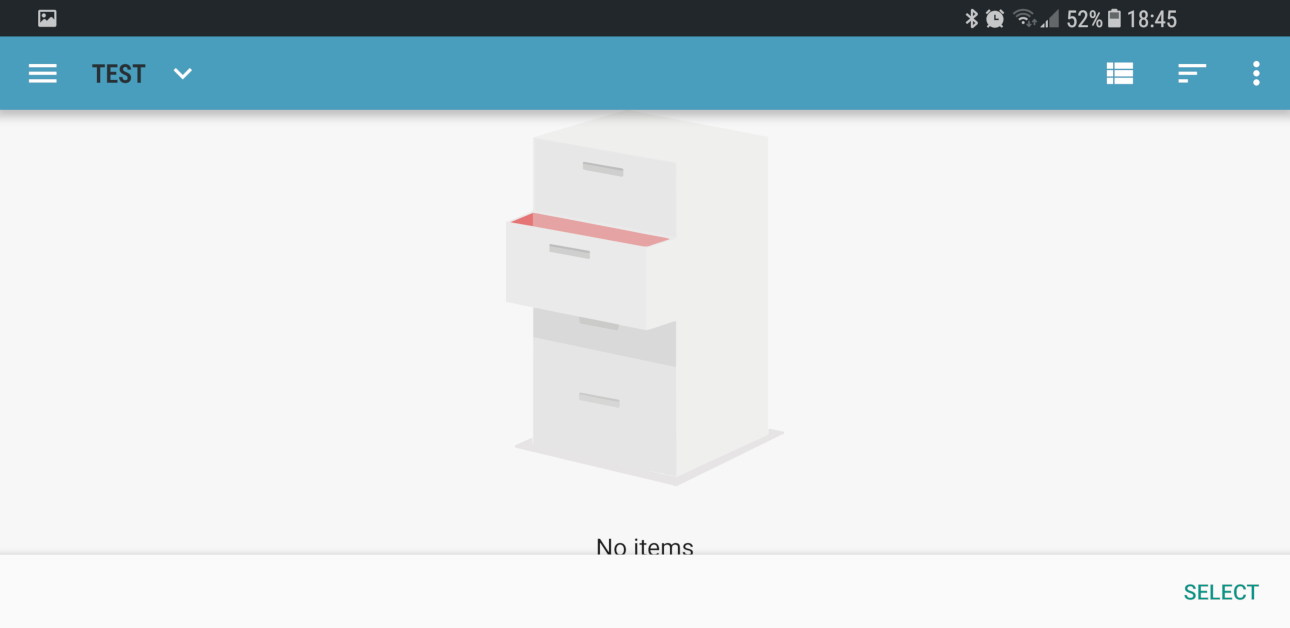
- Navigate to the required directory and click "Select" button
- Done - now your selected pointclouds are saved in the directory you selected
Now the opposite operation - you want to open the saved pointcloud.
- Tap on the "opened directory" icon
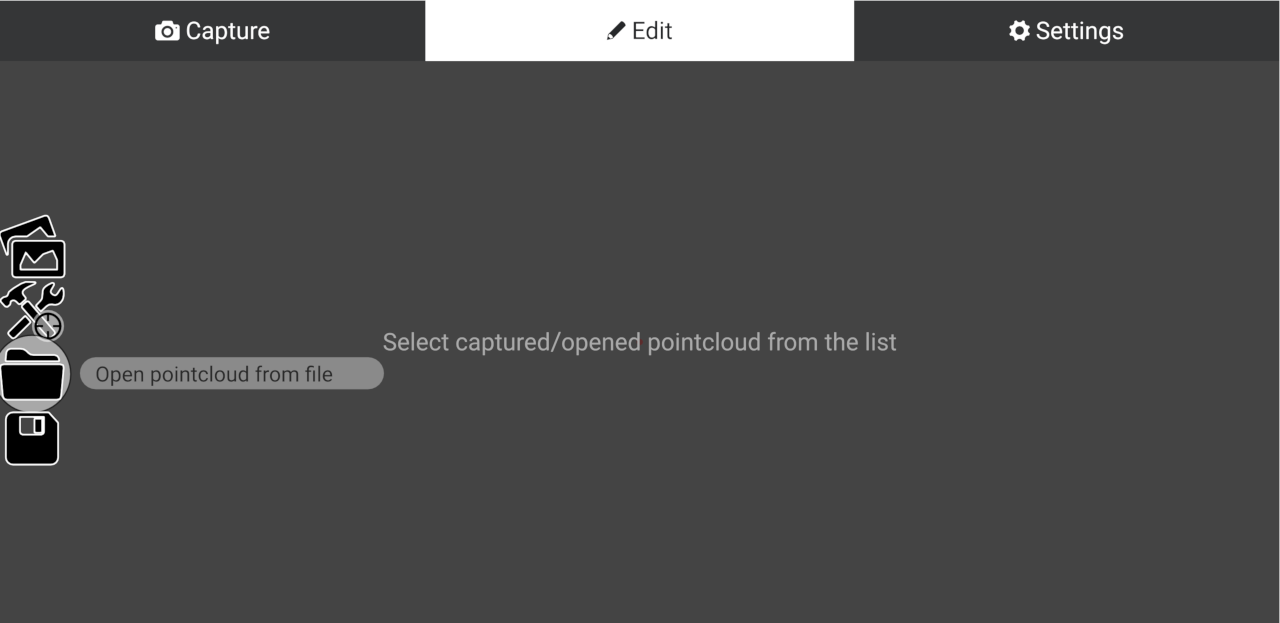
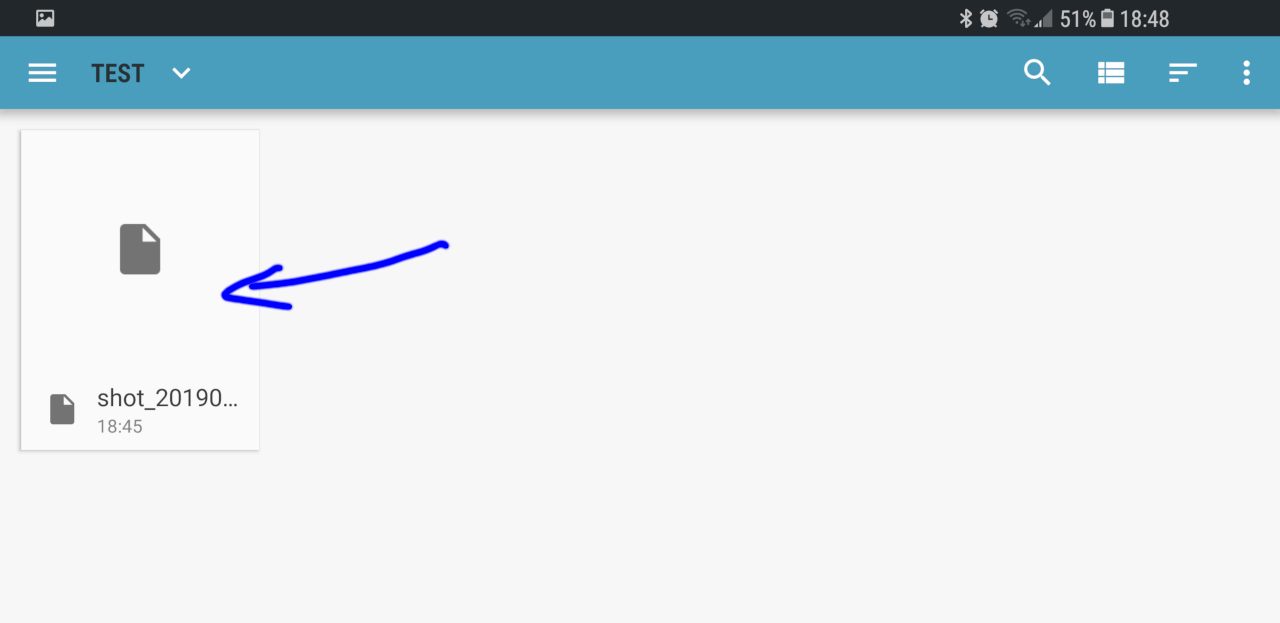
- System will show the select file screen - you need to navigate and select the file
- Open the list of the captured pointclouds:
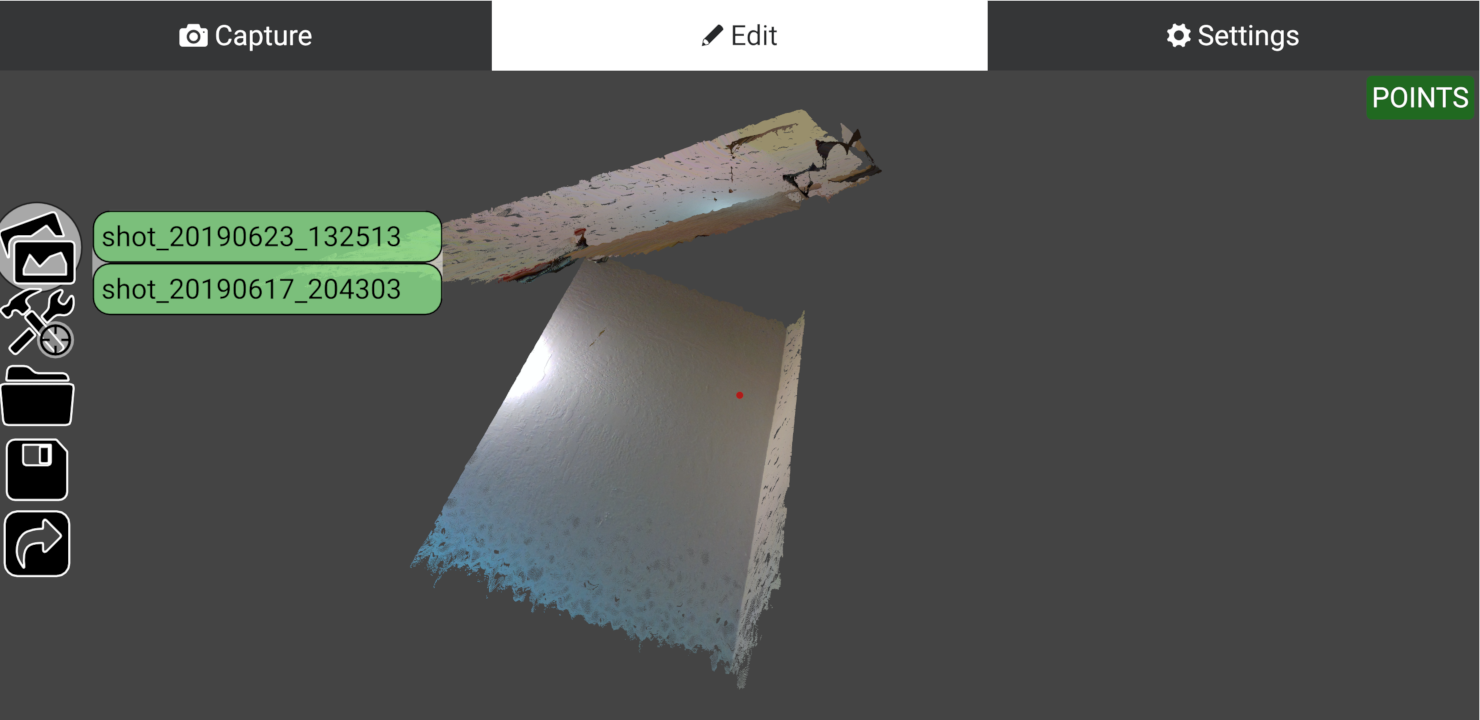
- Select the pointcloud you just opened:
- Done - now you can see your captured pointcloud
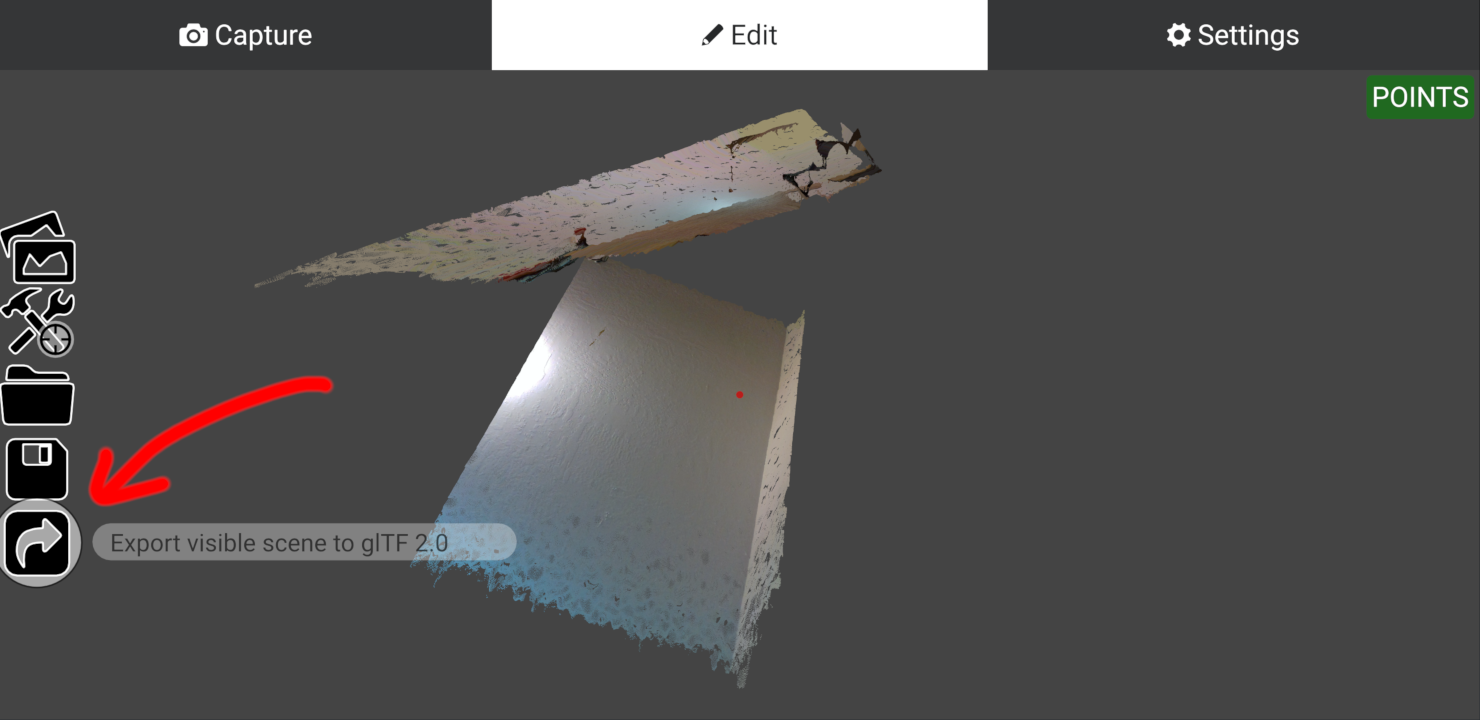
In v0.4.0 we added support to export the 3d scene. It stores the current visible meshes & camera position into the binary glTF 2.0 glb format (using Draco compression by default, but could be disabled in settings).
WARNING: this format is only for export and couldn't be imported right now. Also be careful - it could loss the data about the captured pointcloud (for example if you will set some custom compression settings), so be careful.
How to use it:
- Open/Capture your pointclouds and select the ones you want to save:
- Click on the glTF2 export button
- Select directory, choose some name for the
glbfile and clickSavebutton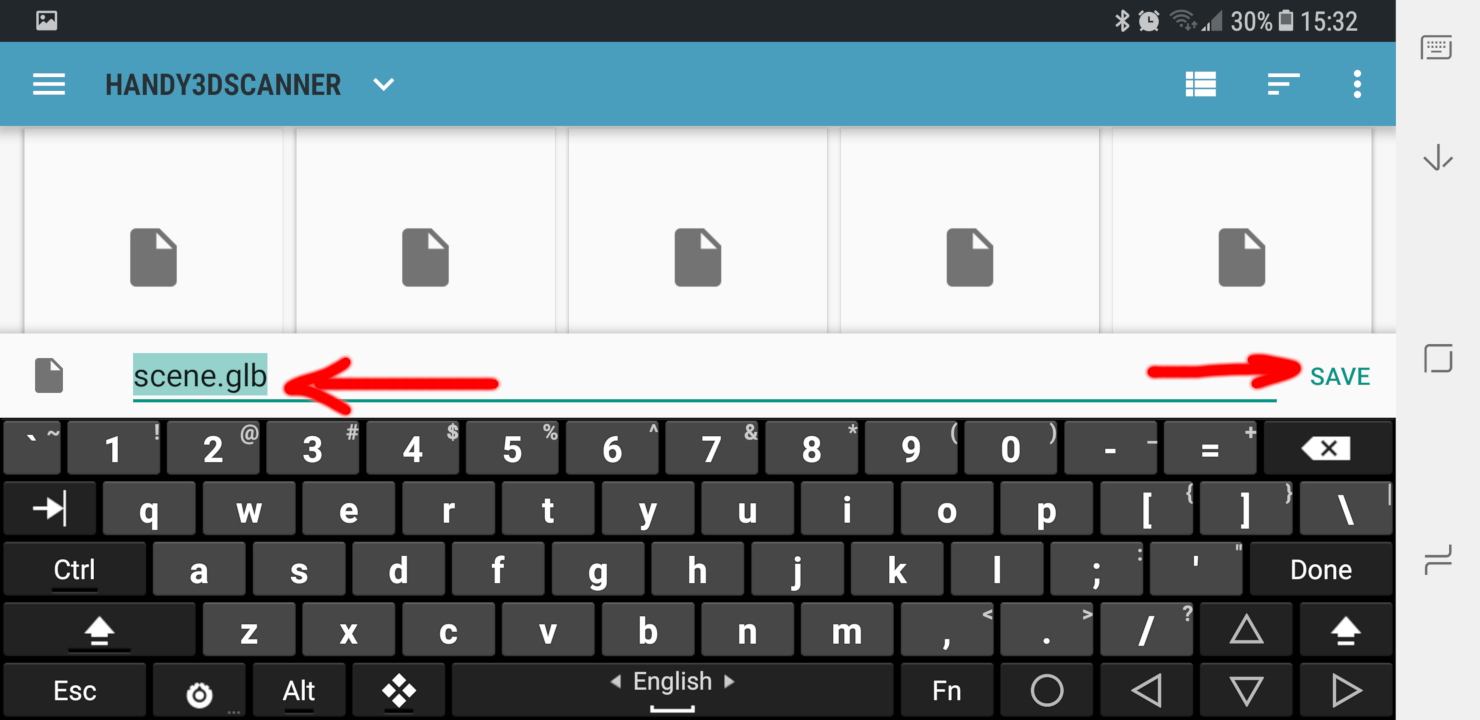
- It will take some time to export & compress the scene (depends on the number of pointclouds & compression settings).
- Done - your glb file is ready.
Also please check Save.glTF2 settings section - you can disable compression: some software still don't support Draco glTF 2 extension. Latest version (since ~v2.92) of Blender already can load Draco-compressed gltf2, so no worries about that.