The esProc project welcomes all contributors. This document is a guide to help you through the process of contributing to esProc development and maintenance.
Once you submit your code and documents to the esProc open-source project, you grant the recipient of the esProc software a perpetual, global, non-exclusive, free, copyright-free and irrevocable copyright license to use, copy, modify, sublicense and distribute your contributions and their derivative works. The use of your content will not cause harm to any person or entity, and you shall compensate for any damages caused by your content. The esProc project will not be responsible for any content provided by you or any third party.
First you need to register a GitHub account and then follow these required steps. If you are already familiar with the GitHub registering process, just ignore this section.
Open SPLWare/esProc GitHub homepage, click Fork button to create a repository copy under your username, such as https://github.com/USERNAME/esProc
git clone git@github.com:/USERNAME/esProc.git
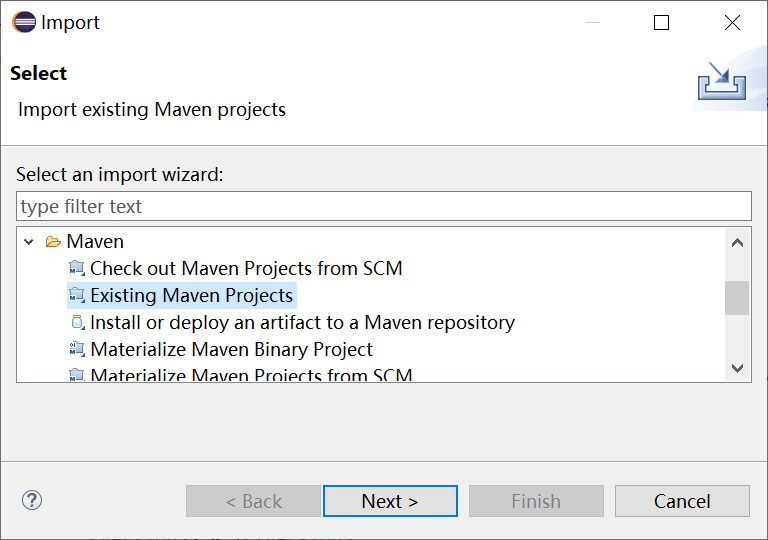
You can use the common Java development tools to import esProc as a Maven project. Take Eclipse as an example, we import it to an existing Maven project.
Next, select the directory where the esProc project is stored.
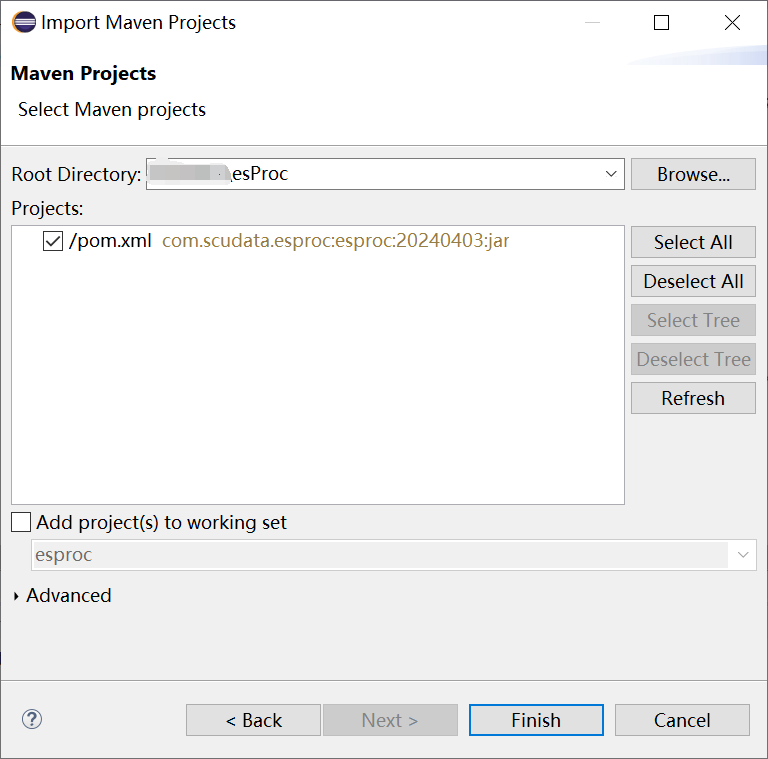
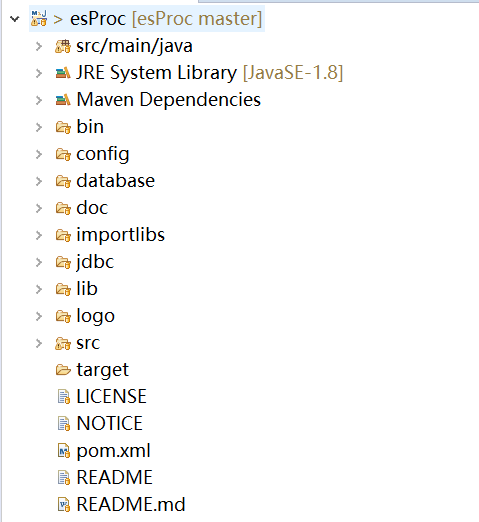
Click “Finish” button and wait for the project to load and compile automatically.
Before creating a Pull Request to merge code into the original esProc repository (https://github.com/SPLWare/esProc), you need to synchronize the latest code from the original repository.
The remote repository named “origin” is the esProc repository that you forked to your own username. Next, you need to create a remote host of the original esProc repository and name it “upstream”.
git remote add upstream git@github.com:SPLWare/esProc.git
Get the latest code in the original esProc repository.
git pull upstream master
Before executing git commit, use git add <file> to add the modified or newly added files. If you want to undo the changes to a file, use git checkout -- <file>.
Each git commit requires a commit comment to help others understand what changes were made in each commit. This can be done with git commit -m "My comment"
Push your local changes to GitHub, that is, https://github.com/USERNAME/esProc.
git push origin master
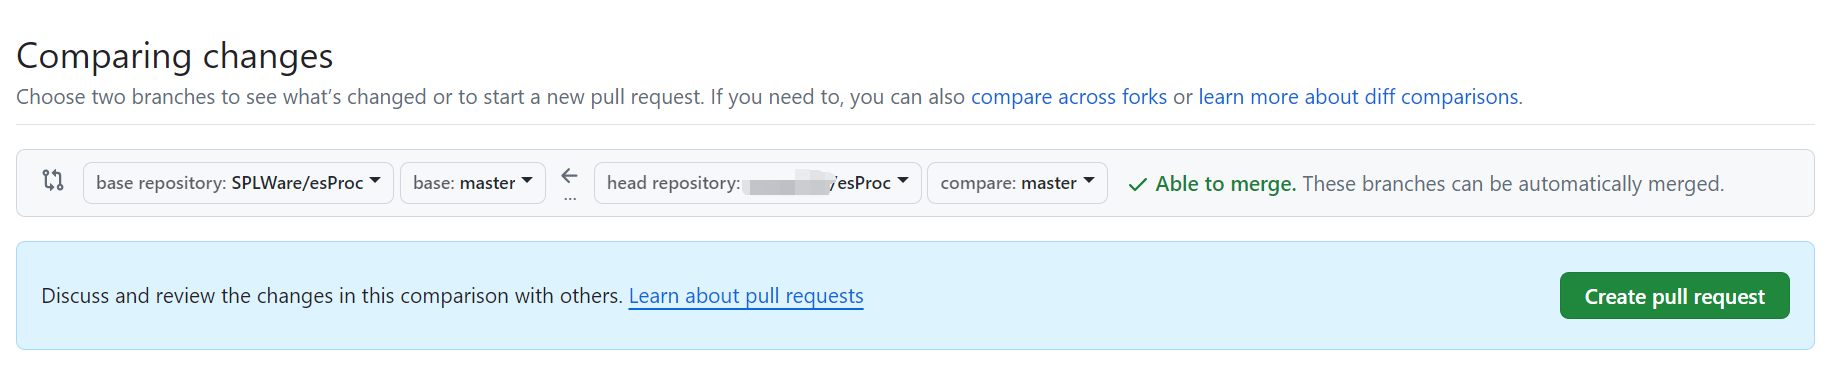
Open the page https://github.com/USERNAME/esProc, switch to Pull requests, and click “New pull request” button.
Please reply a comment by starting a review, rather than replying directly in the PR comment box. The latter will result in one email each time you reply.
If you have new feature requirements or find bugs, you can create an issue on GitHub to give feedback. If you need more information, go to https://www.scudata.com/, where you can find a large amount of documentation as well as initiating or participating in various discussions on the forum.
Due to time zone differences, you may not get an immediate response, so please be patient.
Refer to the source code that comes with JDK, and there are no other requirements.
Describe input and errors directly, including full exception stack trace (if any);
Provide a complete comparison of expectations and actual performance;
If you have any suggestions for changes, add it to the description.