Even if the game is coded in python which is a very simple and multi-platform compatible language and is made to be played the most easiest way possible; if you've never used programs like this, or if you've never ran programs manually or just don't know how to install python; it can be difficult and scary to run this game/program.
In this document, you'll find very in-depth documentation about installing this game from nothing. You'll find a small summary under this paragraph to find where you should start.
- Get Python Installed (Windows, Linux, MacOS)
- Getting The Game
- Getting Required Modules/Libraries Installed & Possibly Fix Issues
- Run The Game & Possibly Fix Issues
Depending on your operation system or your distribution if you're running a linux computer, the methods are very different. Methods will be separated on 3 cases: Windows, Linux Distributions and MacOS. Note that only Windows 10 and 11 will be covered in this guide.
- Go to the official Python download page for Windows.
- Find the latest stable version.
- Click the appropriate link for your system to download the executable file: Windows installer (64-bit) or Windows installer (32-bit).

- After you downloaded the installer, run the
.exefile to run the Python installer. - Select the Install launcher for all users checkbox, which enables installation of the python environment for all users of this computer.
- Select the Add python.exe to PATH checkbox, which enables users to access to python at any location in their terminal.
- If you’re just getting started with Python and you want to install it with default features as described in the dialog, then click Install Now. To install other optional and advanced features, click Customize installation and continue.
- The Optional Feature include common tools and resources for Python and you can install all of them, even if you don't plan using them. You'll need to check the
pipbox since this program uses external Python modules/libraries. Other boxes are just optional for this program.

- Click Next.
- The Advanced Options dialog displays.

- Install for all users: recommended if you’re not the only user on this computer.
- Associate files with Python: recommended, because this option associates all the Python file types with the launcher or editor.
- Create shortcuts for installed applications: recommended to enable shortcuts for Python applications.
- Add Python to environment variables: recommended to enable launching Python.
- Precompile standard library: not required, it might down the installation.
- Download debugging symbols and Download debug binaries: recommended only if you plan to create C or C++ extensions. This program requires to check the Add Python to environment variables. Make note of the Python installation directory in case you need to reference it later.
- Click Install to start the installation
- After the installation is complete, a Setup was successful message displays.

You can verify whether the Python installation is successful either through the command line or through the Integrated Development Environment (IDLE) application, if you chose to install it.
Go to Start and enter cmd in the search bar. Click Command Prompt.
Enter the following command in the command prompt:
python --version
An example of the output is:
Output
Python 3.12.2
Since myself, @OcelotWalrus I'm running a Linux computer, this guide for installing Python on windows in completely taken from this website: https://www.digitalocean.com/community/tutorials/install-python-windows-10.
If you're using a linux computer, you've probably already used python or at least you're used to the command line. Know that python comes already installed with most Linux Distributions. If you don't know if you have python installed, you can just run the command below:
python --version
So as I said sooner, most Linux Distributions come with Python installed, so if it's the case for you, skip the 1st step and got directly to the 2nd ste
First, before installing, you'll need to have sudo access on the system.
- Installing from the package manager
RPM-based distros:
sudo dnf install python
# or
sudo yum install python
DEB-based distros:
sudo apt-get install python
- Verifying Python installation and check if you've already PIP (Python Package Manager) installed
python --version
To check for Python installation.
First, you'll need to check if pip is already installed on your system.
pip -V
If you don't have pip installed then, follow these steps:
- First, get the installer
wget https://bootstrap.pypa.io/get-pip.py
- Next, run the installer
python get-pip.py
Now, you should have pip installed. To use pip, run python -m pip. You can also alternatively install pip from a package manager, which is better because you would just have to run the pip command on the terminal, but it will not be covered in this guide.
You can get more information about pip here.
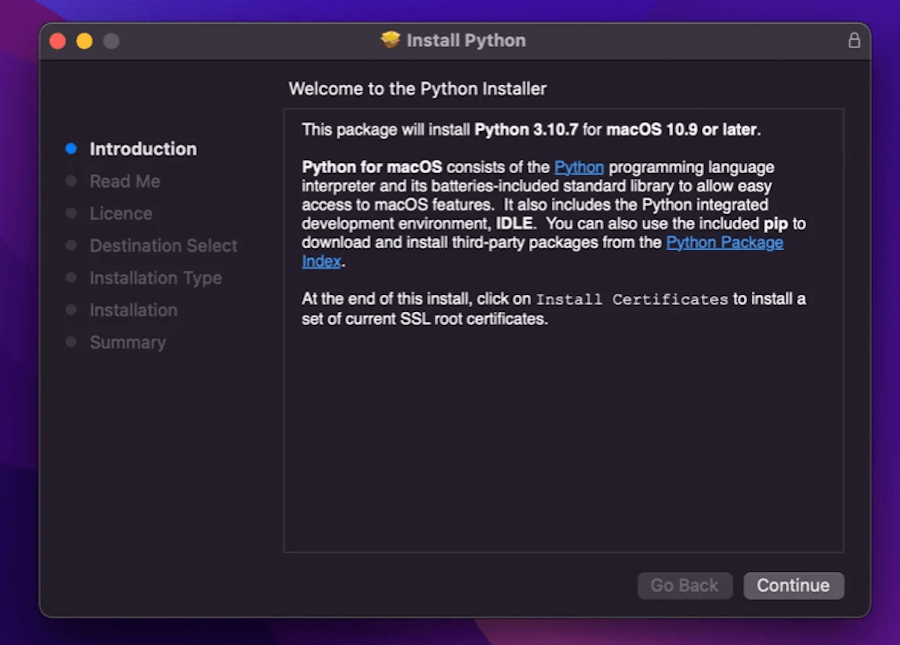
Installed Python on MacOs is very similar to installing Python on Windows, you'll just have to download the installer and then install it.
- Go to the official Python website to access the download page for the latest version of Python for MacOS
- Download the Installer
- On the Download page, you'll find the MacOS installers packages (.pkg files). Download the latest stable version.
- Run the installer. Proceed through the installation steps by agreeing to the software license agreement, choosing the installation location (we recommend using the default location), and entering your administrator password when prompted.
Make sure to have pip installed.
- Verify the installation by running
python --version
Since I'm a linux user and I don't own currently any mac book, i taken all these instructions from this website: https://kinsta.com/knowledgebase/install-python/#mac
To get the game you have two methods: either cloning the github repository from the command or either download the zip folder of the game. It's recommended to get the game by the first method because you will be able to update the game simply by running a simple command, but it requires having git installed. While the second methods doesn't require git, you'll have to re-download the game every time you want to update the game.
As I said sooner, you'll need to have git installed to use this method. This guide doesn't cover installing git but here's a good guide for that: https://github.com/git-guides/install-git
- Decide if you want to use https or ssh to clone. (https://www.warp.dev/terminus/git-clone-ssh#cloning about the difference between https and ssh)
- Clone using your favorite method
git clone https://github.com/Dungeons-of-Kathallion/Bane-Of-Wargs.git
# or
git clone git@github.com:Dungeons-of-Kathallion/Bane-Of-Wargs.git
# or
gh repo clone Dungeons-of-Kathallion/Bane-Of-Wargs
- Check that the fold Bane-Of-Wargs is on your computer.
Note that with this method, automatic or semi-automatic update will not work. You'll have to re-download the game.
- Go to the Bane Of Wargs github repo main page. https://github.com/Dungeons-of-Kathallion/Bane-Of-Wargs
- Click on the
<> Codebutton.
- Once the pop-up open, click on the Download Zip button.
 The download should start quickly.
Like most python programs, it's very rare that it only requires the default packages coming with the Python environment. This program requires 6 python modules/libraries. All of these modules/libraries are contained in the requirements.txt file.
- fade // the modules that makes the game title fade possible.
- GitPython // the modules that makes updating the game from the github repository while being in-game possible.
- colorama // the module that makes displaying colored text in terminal easier.
- PyYaml // the module that makes using yaml files as a data base for the game possible.
- yamale // the module that makes the verification and debug by the game of every opened yaml files by the program possible.
- fsspec // the module that makes downloading game data from the github repository and moving them to the game data folder possible.
- appdirs // the module that makes cross-platform game config and data storing in users directories possible
- requests // the module that makes downloading game data from the github repository and moving them to the game data folder possible.
- rich // the module that makes displaying markdown files in terminal possible
To install all these modules you can simply run:
pip install -r requirements.txt
# or
python -m pip install -r requirements.txt
while being on the root of the game directory.
You can after run pip freeze #or python -m pip freeze to check if all packages have been installed.
We're almost done here. In this final step you'll run the game and finally be able to play it and create plugins for it.
First go to the root of the repository with your terminal by using the cd command.
Depending on how you installed python, you will run the game differently but it's the same way.
python source/main.py
# or
python3 source/main.py
#or
python<x.x> source/main.py #x.x is for example 3.7 for the version 3.7
If you want to take the game to a next level, you can compile the game by following the instructions of the docs/BUILDING.md documentation.
Here are the common issues that can happen and crash the game while trying to run it for the first time:
If you have an error about modules or libraries, it's that you didn't installed correctly the required dependencies. Get back to Getting Required Modules/Libraries Installed & Possibly Fix Issues.
If this message displays in red after selecting the Use Latest Preset in the Play Game menu, it's because you've never played the game before and because you don't have any save yet.
Instead of choosing Use Latest Preset, choose Play Vanilla and create a new save. Next time you'll press the Use Latest Preset, it should work.
If you encounter this error, it's probably because you're using a plugin or because you modified the game vanilla data locally and made an error. If you did, there should be a debug message to help you understand what's wrong. If you didn't modified locally the vanilla data, please report the bug by creating a github issue here or by sending me an email at angelo.longo13@outlook.com. If this error is encountered while using a plugin not made by you, please report the issue to the plugin developer(s).
If you have some weird errors, it's probably because you have an outdated version of python. Get the latest stable version of Python or update your current one.